How to Recover Data after Failed macOS Sierra Upgrade
Summary: The objective of this blog post is to share useful MacOS Sierra data recovery information when your Mac fails to upgrade to macOS Sierra and doesn’t boot to any OS X due to the failed installation procedure.
Free download and try Stellar Data Recovery Professional for Mac.

Apple always recommends backup the entire Mac hard drive through Time Machine application before upgrading to a latest OS X. Moreover, Apple keeps the OS X update process very simple so that every user can upgrade to a newer version without the assistance of an Apple expert. Despite all these measures, many Mac users come across data recovery problems either during the OS X upgrade processes or after the OS X installation. Data losses while an OS X upgrade isn’t limited to any specific Mac devices, but it can occur on an iMac, MacBook Pro, Air, Mini or Pro.
A failed OS X installation wouldn’t affect a pro-active Mac user who readily backs up everything to a Time Machine drive. Even if the Mac fails to boot to an OS X, the user can still boot into Recovery Mode and choose the option “Restore from Time Machine Backup” which will restore the previous version of OS X with all data back to the user’s Mac. It’s that simple!!
Let us consider an example. Mr Patrick didn’t take backup of his Mac system and went forward to upgrade to macOS Sierra. During the operation, the Mac rebooted and showed Mr Patrick the error “OS X Sierra couldn’t be installed on your machine”.
In the absence of a Time Machine backup copy, rolling back to the previous OS X and restoring data becomes a dream. Every time, he restarts his Mac, the monitor greets him with the same error “OS X Sierra couldn’t be installed on your machine”.
Solution (As recommended by Apple)
Step 1) On the event of encountering the error mentioned above, Apple recommends to backup and format the targeted hard disk drive. If you can back it up without any issues, then the problem will be solved. But,
Step 2)If the hard drive couldn’t be backed up, then you must perform a small surgery to resolve this issue. Please follow below advice:
- Restart Mac and go to Recovery Mode and select Disk Utility
- Go to Partition tab and decrease the size of your startup disk just a little bit. Click Apply to save your setting. Read More: Why leave 128 MB Free Spaces on a Mac hard drive during partitioning
MacOS Sierra Data Recovery (Process)
Step 1) Open the software interface and select the data types you require to recover. Further, click Next button.
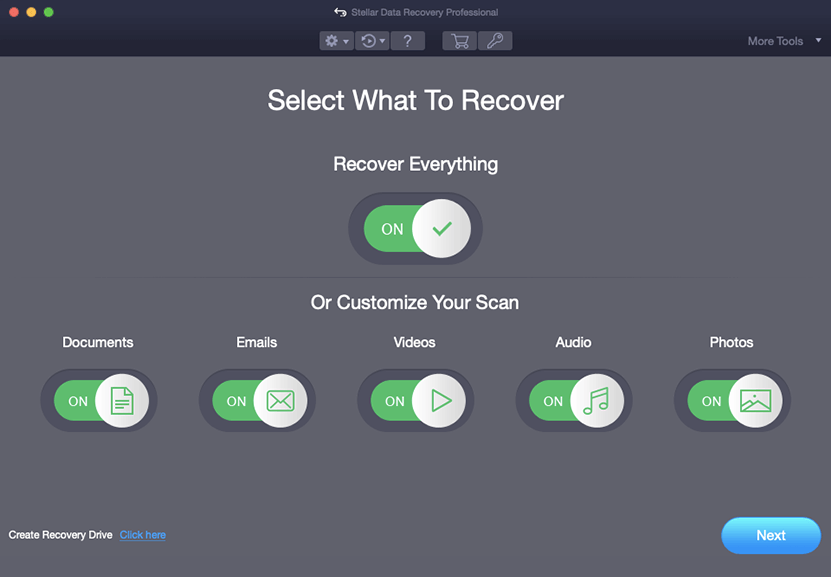
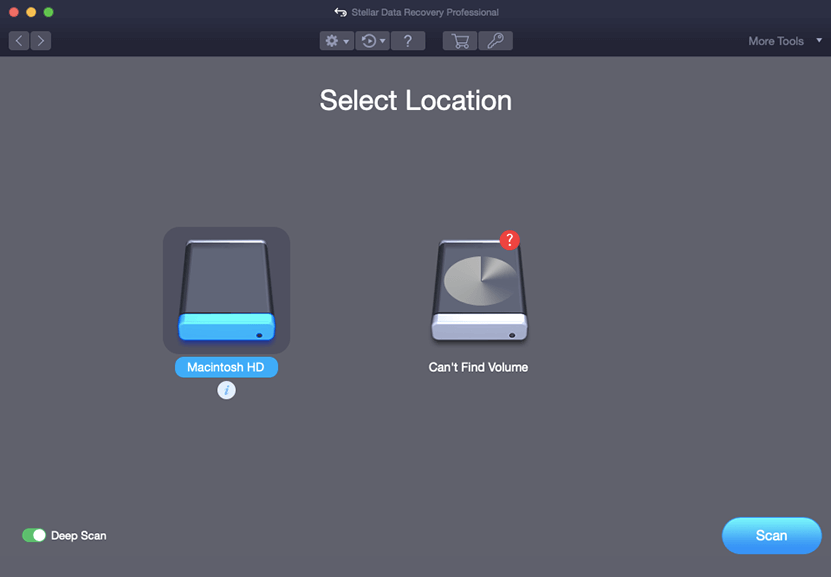
Step 2) Select your hard drive from the list of all available devices. Press Scan to launch hard drive scanning
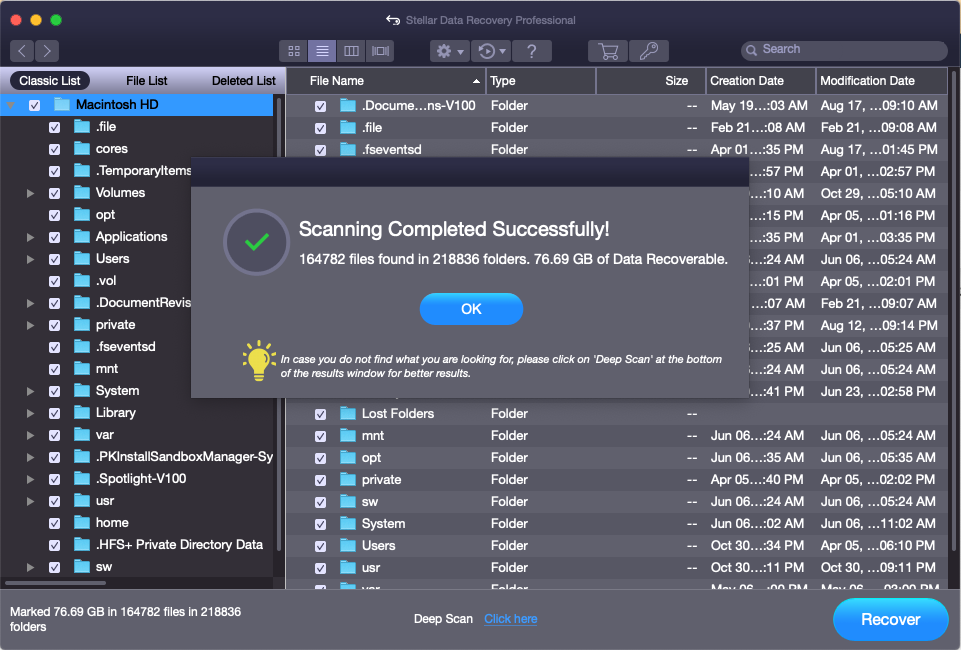
Step 3) Let the software scan your hard drive entirely. The message – Scan is completed
Step 5) Preview your data comfortably
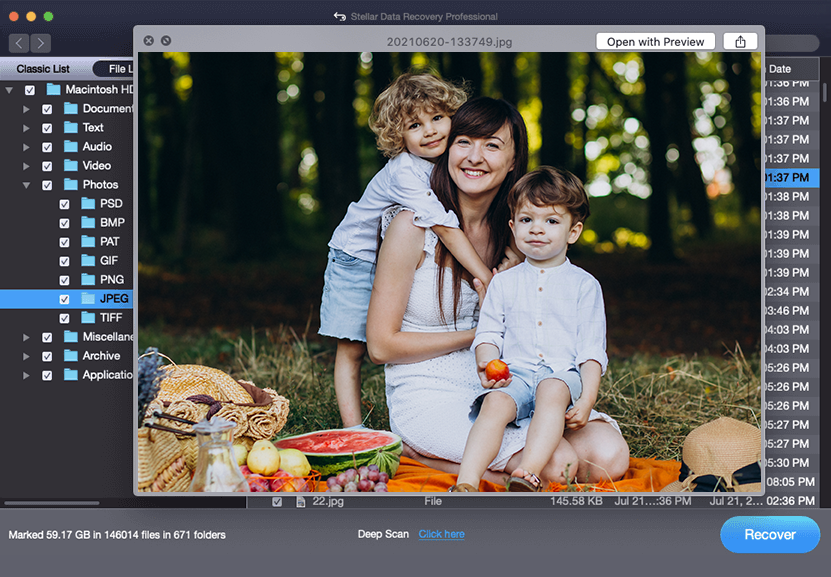
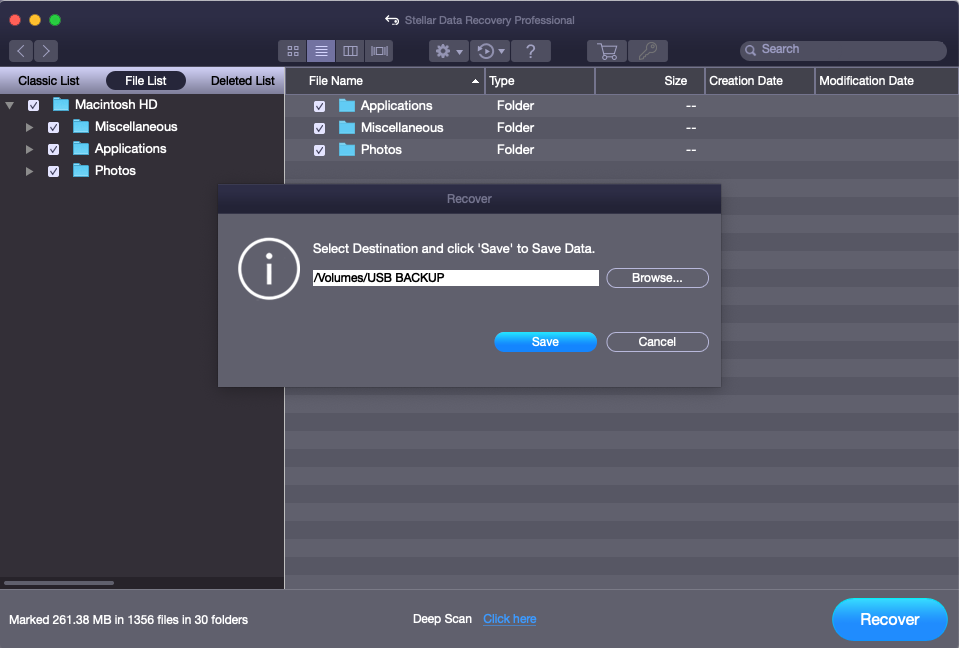
Step 6) Now, this is the best part where you can click Recover button and provide a safe destination to save all the recoverable data
Conclusion
The problem of data loss and recovery after a failed macOS Sierra could get resolved by resizing the startup disk drive or with the help of the mentioned utility which will boot up the Mac for file recovery.
Free Download – Stellar Data Recovery Professional for Mac


